Download the high res wallpaper here
My friend Darcy was given something quite special the other day, the board for the #passitonproject from Lib Tech.
Here’s some info from Travis Rice pulled from the xgames website:
“The #passitonproject is an idea we came up with more or less spontaneously. My new Speedodeeps snowboard — a powder-specific board I’ve been designing with Lib Technologies for several years now to replace the Banana Hammock; I really think it rides like nothing else out there — showed up at the Asymbol studio a few weeks ago, and we just started kicking around this idea:
What if we sent it out into the world for people to ride and pass along, from snowboarder to snowboarder?”
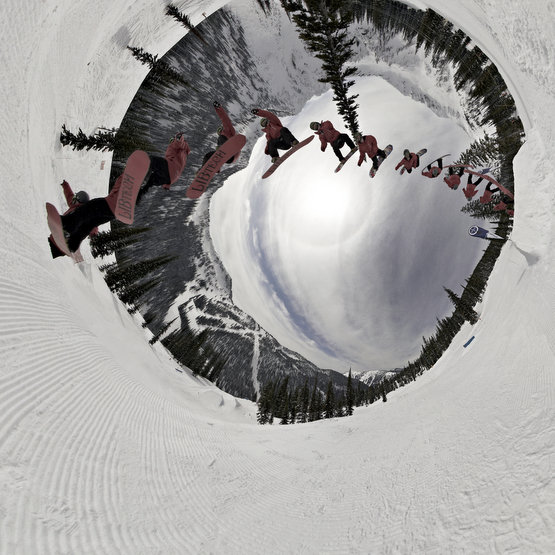
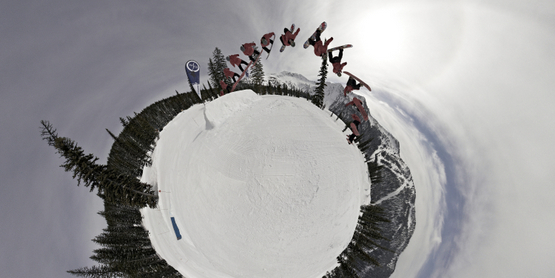
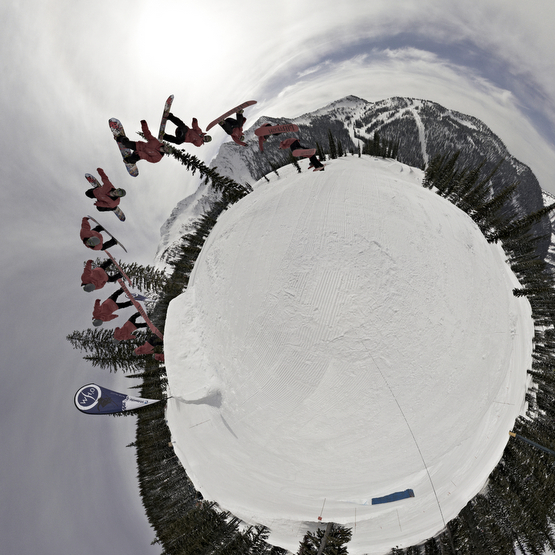
We went out shooting one day to see what we could create. I had the idea of making my first sequenced stereographic projection. It was quite a challenge to think of how this image would come together, but it did come together and the results are mind warping…
Click More to see the process and other shots from this day..
Here’s the video introducing the project and the board.
The first shot of Darcy pulling a pretty clean backflip on the board. Now that I had the standard shot nailed it was time to try something else…

First I tried setting up the quad copter to capture some aerial shots. Below is a still from the footage of a Backside Rodeo. It’s interesting to have this levelled perspective as he flys through the air.
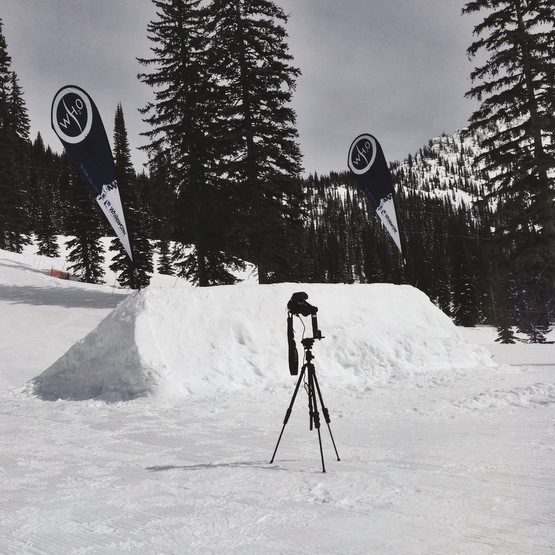
Next was the challenge of capturing the stereographic projection with a sequence shot. I had left my fisheye lens back at home, which meant a 1.5 hour round trip. I knew I had to get the shot so I made the journey. Once back at the hill I set up the camera and panoramic head in a suitable position and fired away. Because I had gone for so long my main concern was the weather might change. It did start to cloud over, however it meant a Sun Halo had appeared. I love these, and they always makes for a good panoramic image. It took three tries to get the sequence of shots we were happy with.
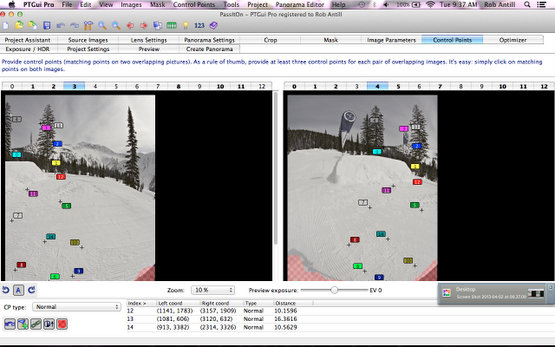
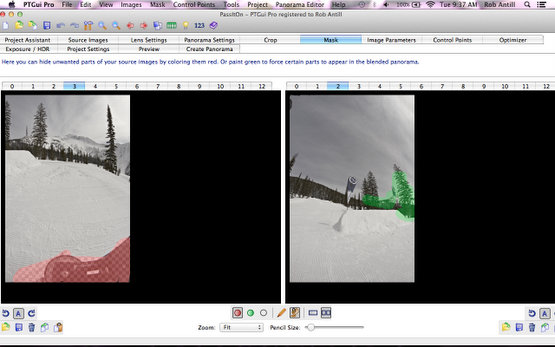
Then on to the editing. First I stitched the back plate image the same way I create every other panodrop image, by creating control points between the images so the program can work out how they join together.
Next I roughly masked off all the unwanted parts of the images, for example the tripod. I also masked out areas that I wanted from each image, in the example below its the green area on the tree.
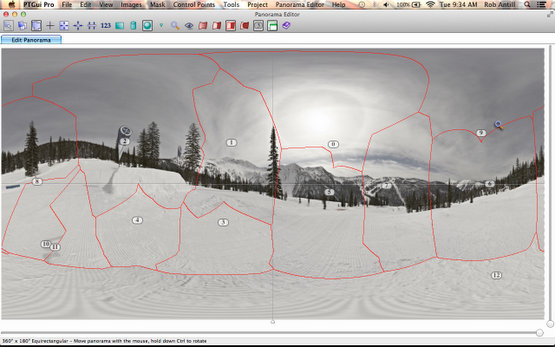
This image shows how each shot is now linked together to create a full 360 ° picture.
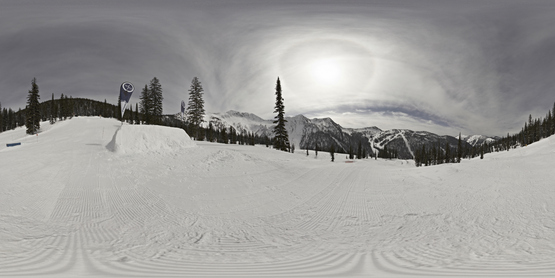
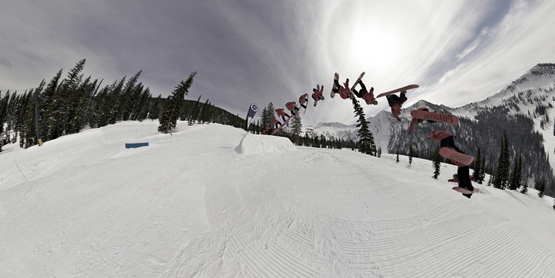
Here’s the final stitched backplate now ready to host the sequence of images on top.
Below is the 15 shots I captured (from the same position as the above image) of Darcy backflipping.
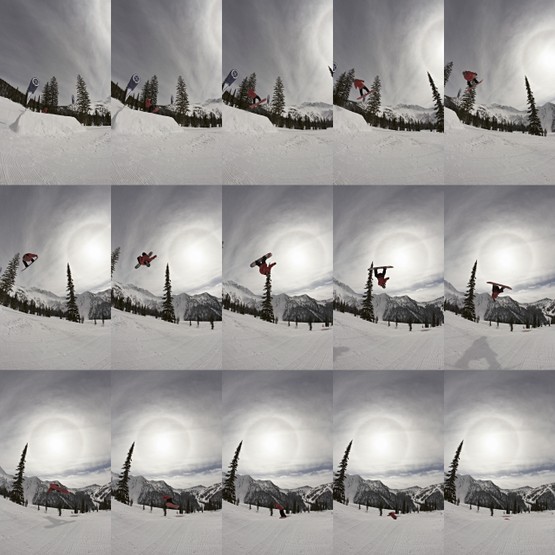
In Photoshop I roughly cut out each frame with a point of reference, for example a section of mountain, so I could line up the images to the back plate. I then carefully cut out each frame and blended it with the background.
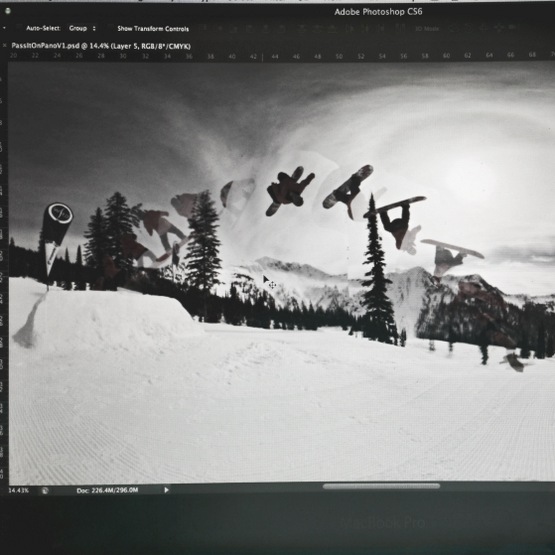
This sequence shows the process of adding the frames.
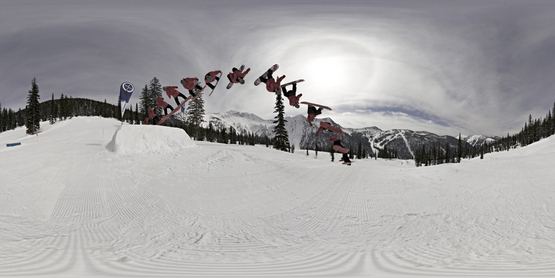
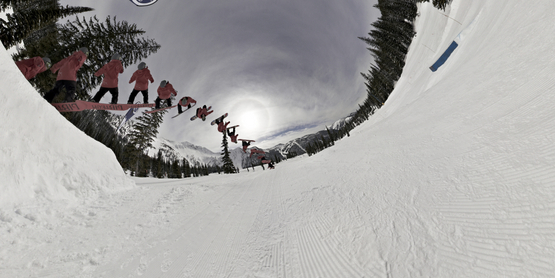
And here’s the final equirectangular sequence shot.
Now that I have the full panoramic image I could then map it out in a number stereographic perspectives..
For more info on the process and to see other images of this kind head to www.panodrop.com/info.
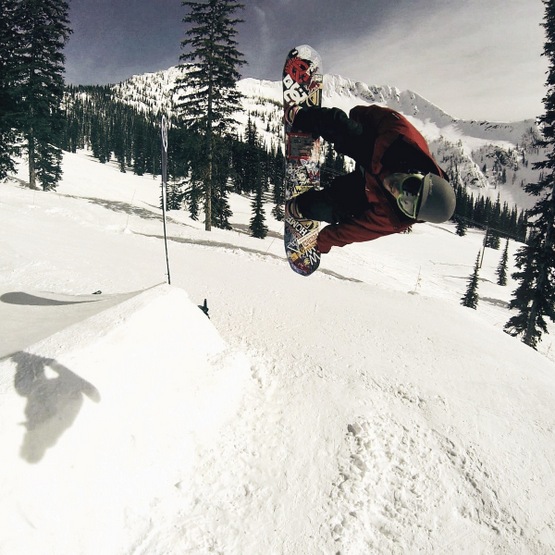
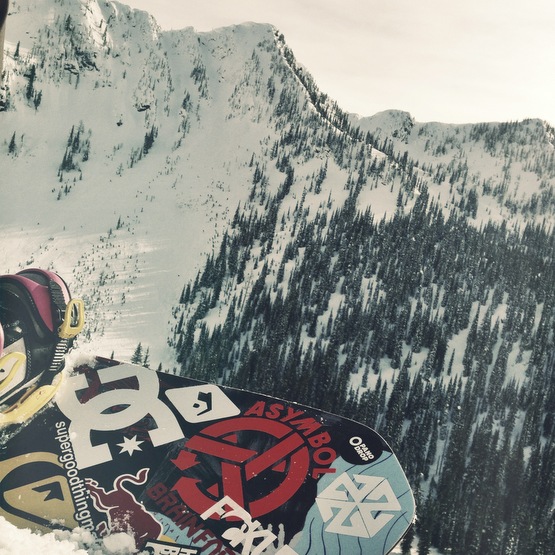
And to finish, here’s a shot of me about to drop in on the board at Whitewater.
Note: The panodrop sticker 😉
Recent Comments